Removing & Installing Steering Wheel On Honda Civic EF & CRX
Here is how to remove the steering wheel on a Honda Civic EF and CRX, and how to install an aftermarket steering wheel.
Tools needed for this job:
Removal:
- Thin flat head screwdriver
- 19mm socket with ratchet and extension
Installation:
- 19mm socket with ratchet and extension
- Allen key for the steering wheel screws
Removing the Stock Steering Wheel
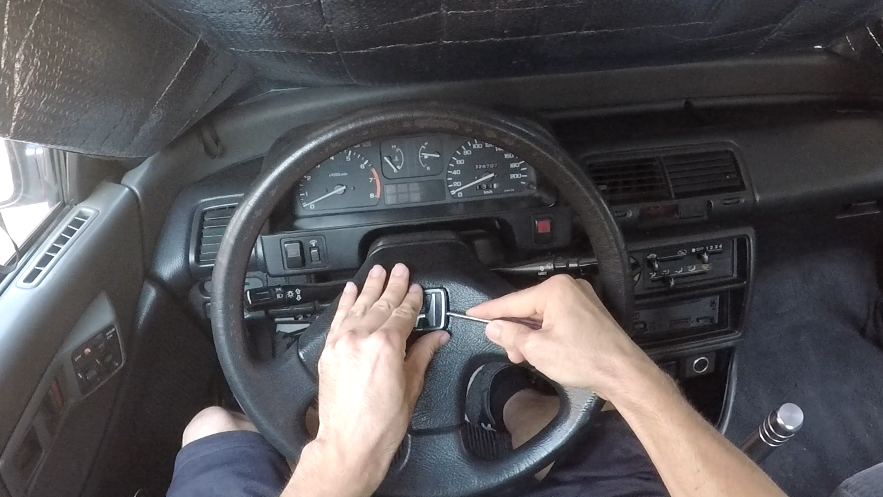
To remove the stock steering wheel, take the thin flat head screw driver and squeeze it between the Honda emblem and the horn button, and pry the Honda emblem out (it should come off very easily):
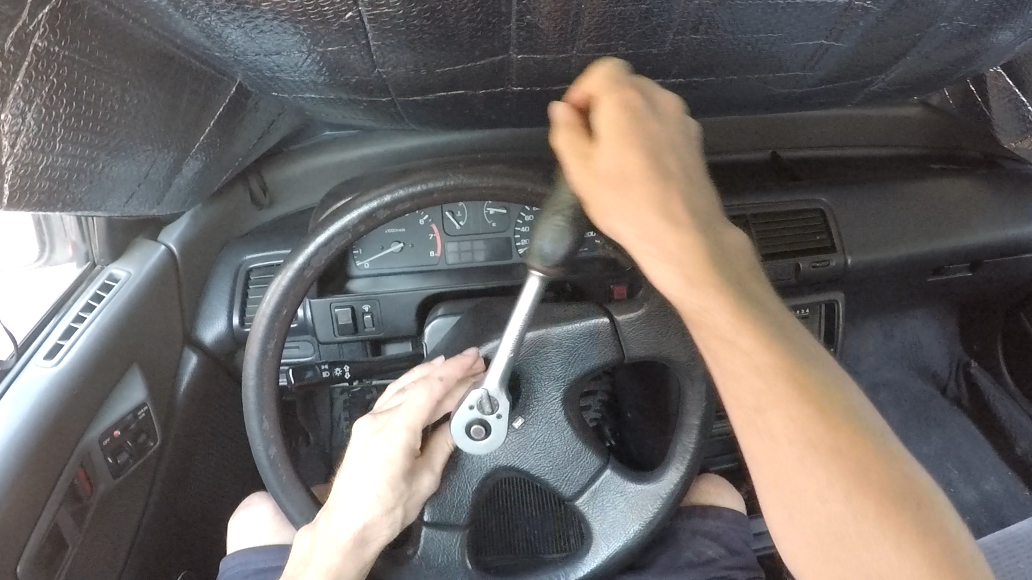
Then you’ll have access to the nut which holds the steering wheel on. Put the 19mm socket into the hole on the nut and undo it. You might have to turn the steering wheel with the key out of the ignition so that it locks and you can crack the nut loose:
Once you’ve got that nut off you can pull the steering wheel off. It should come off easy, but sometimes they can be stuck on. If that is the case, simply hit the steering wheel with your palm at 3 o’clock and 9 o’clock to give it a shock, and then give it a sharp pull at 3 o’clock, 9 o’clock, 12 o’clock and 6 o’clock to evenly distribute the force. A few rounds of that and it should come right off:
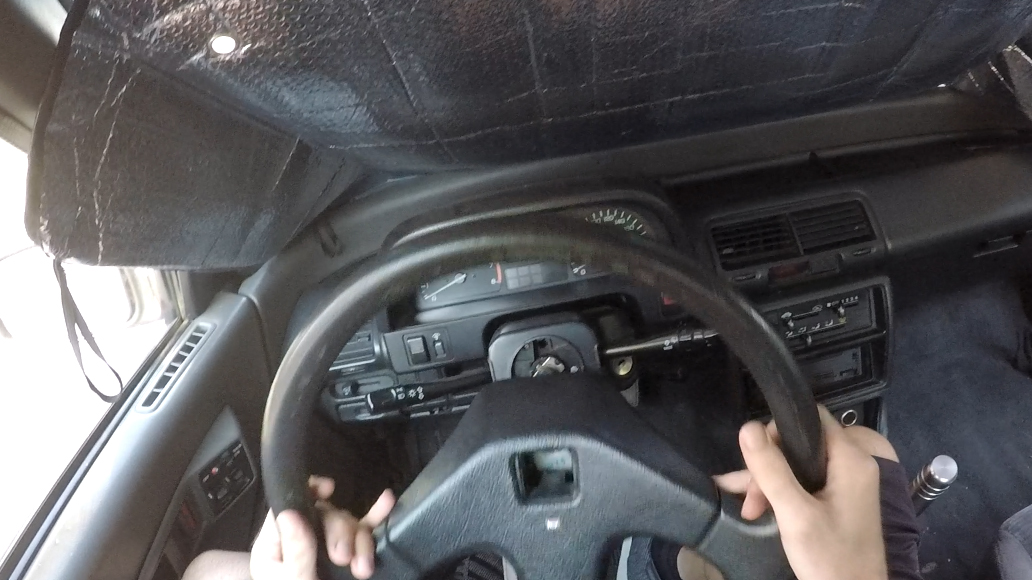
That’s all there is to it.
One thing to note: Make sure the steering wheel is straight before you take it off. It’s going to make your life a whole lot easier putting it back on straight as well.
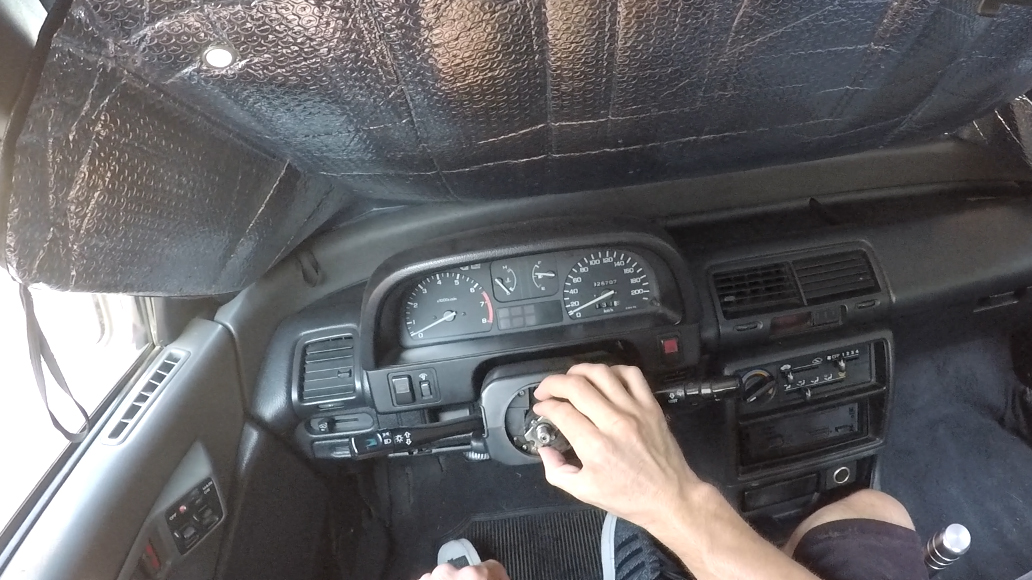
Now, if you are installing an aftermarket steering wheel, there is a spacer on the steering column that you will probably have to remove. It looks like this:
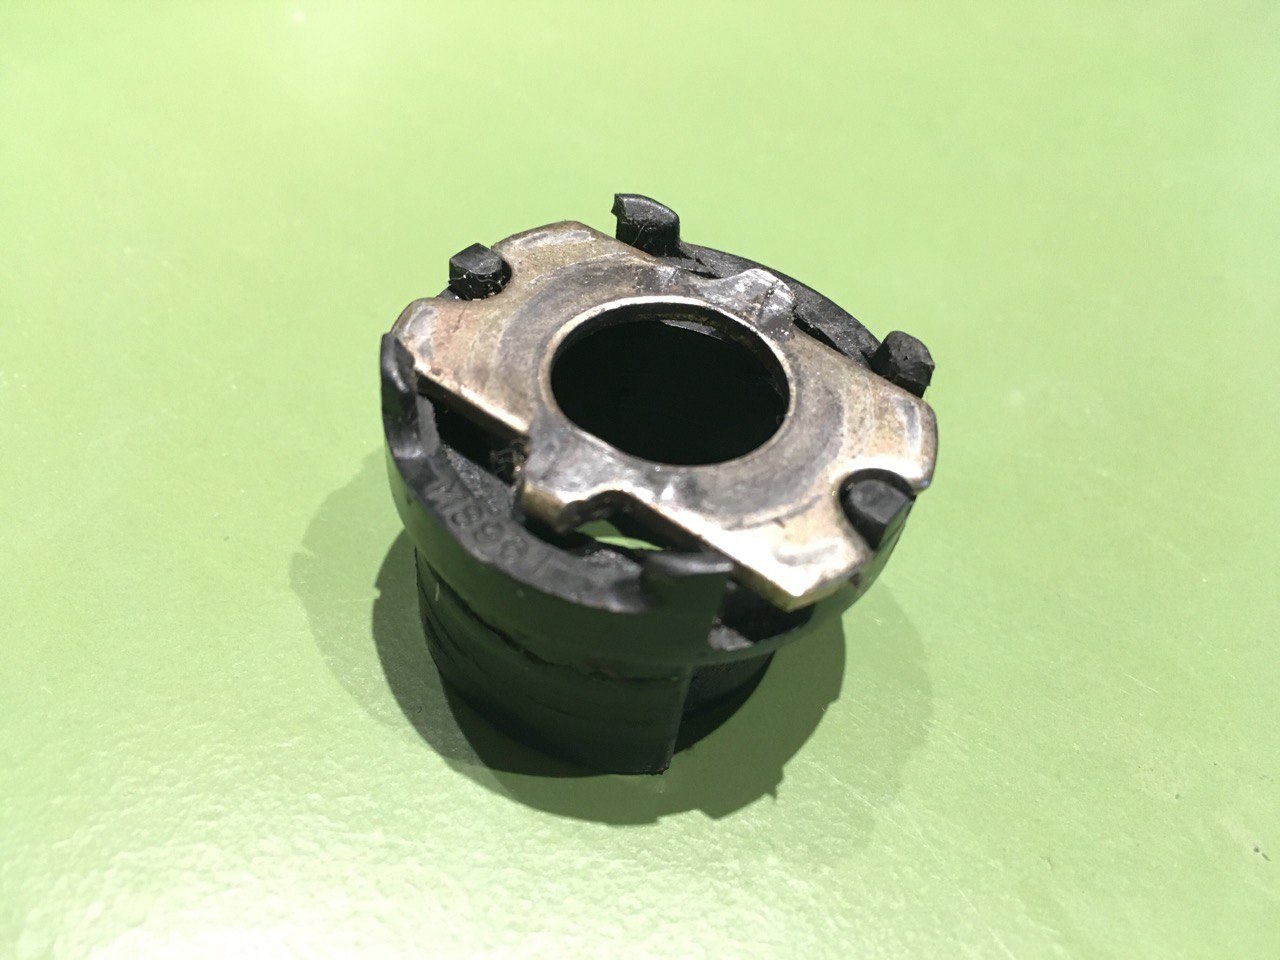
Simply slide it off the column:
Installing the Aftermarket Steering Wheel
To install the aftermarket steering wheel and boss kit I like to put the steering wheel onto the boss kit with 2 screws so that I can put it all on straight.
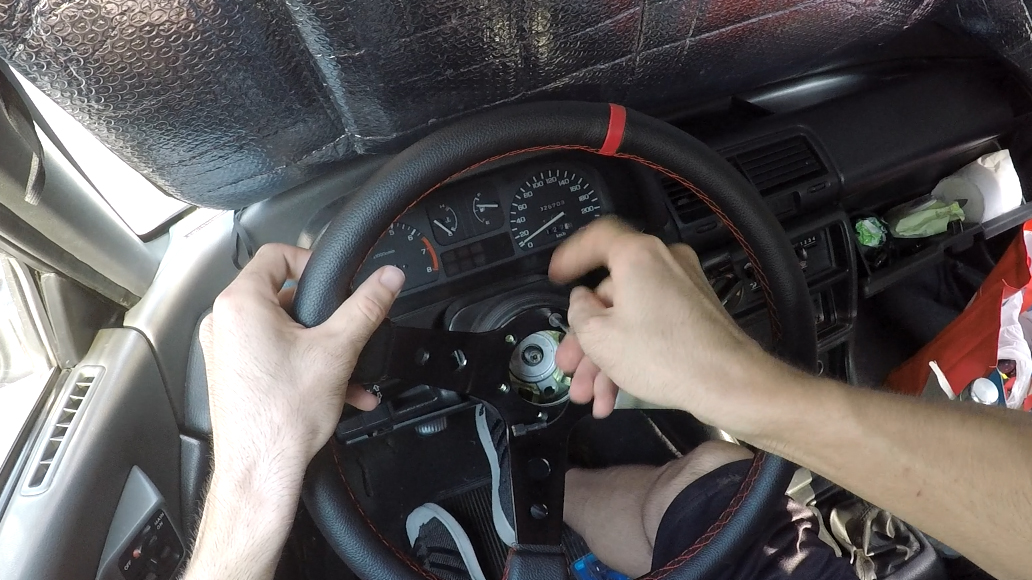
Then you can slide it on straight:
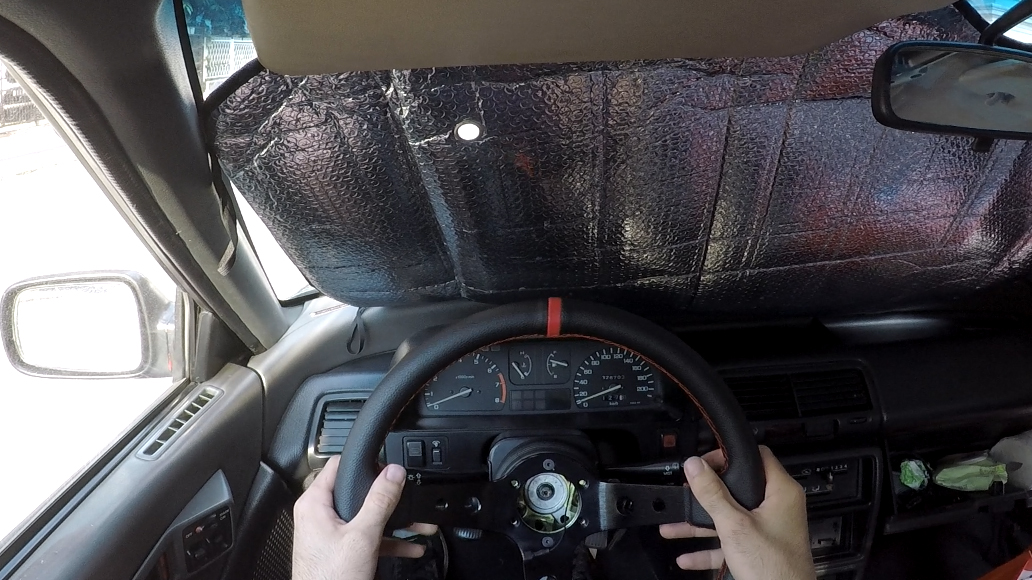
Then you can put the rest of the screws on:
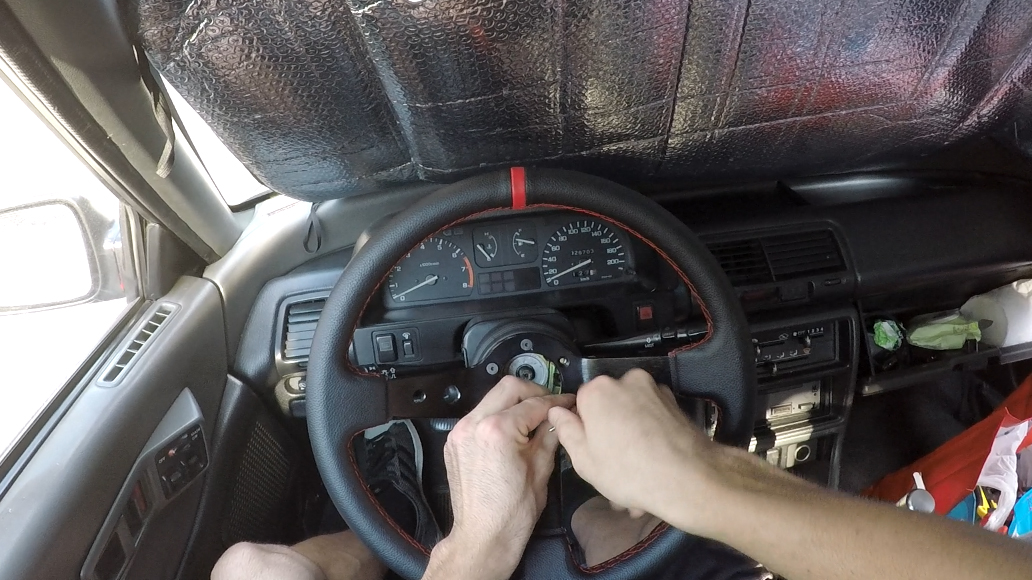
Now, before doing the main nut up you’ll want to test the horn. I find that the horn is often a problem and you’ll need to adjust something to make it work.
Most cars have a pin which touches a ring on the back on the boss kit, to supply ground to the horn button. You need to make sure that pin is contacting the ring on the back. In this case, I had to bend the pin outwards a bit so that it wasn’t touching the plastic:
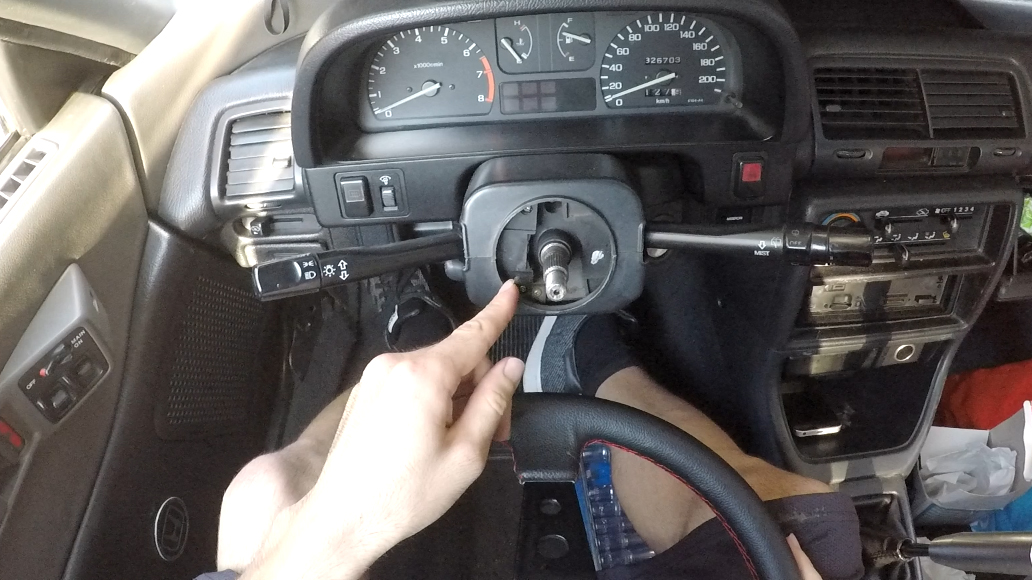
Once you make sure the horn is working, you can do up the main nut.
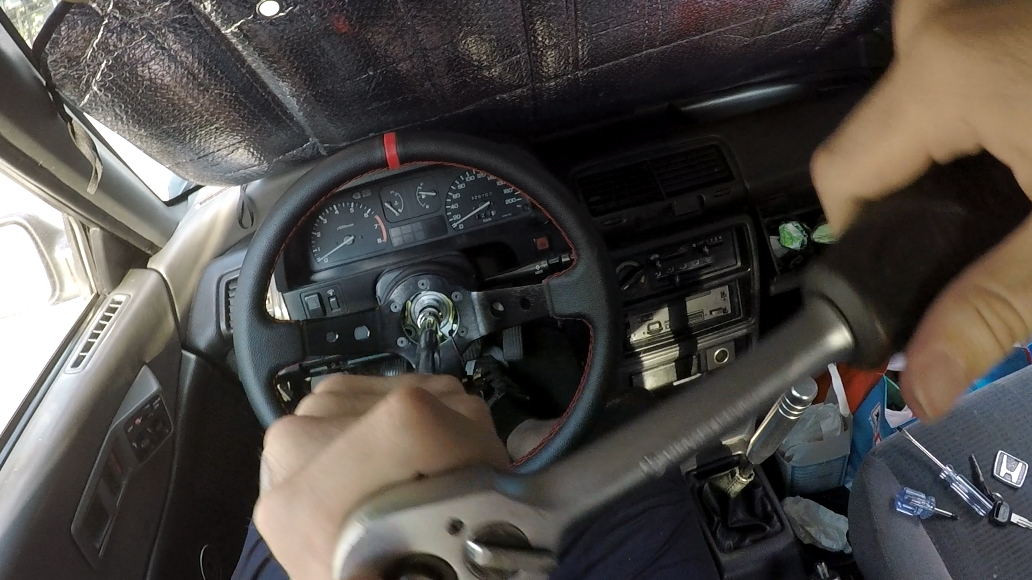
Now put the horn button on and take it for a test drive to make sure it’s straight and everything is good:

- BC Racing Coilovers Review – Are They Any Good? - September 12, 2024
- 8+ Best Nissan 350Z Coilover Guide In 2025 - September 12, 2024
- Top 6 Best 2015 Subaru WRX Coilovers - September 12, 2024


